


I wanted to share a few tips on how I pick out and cut the paper for these as quickly as possible.
Item # CK124
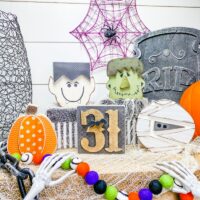
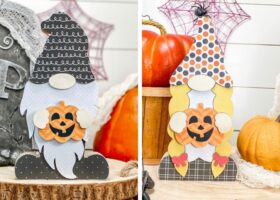
Seasonal Cubes Tutorial

First, I paint the edges of the blocks (I use black paint)

Then I sort through my mounds of scrapbook paper and divide them into four piles…
1. St. Patrick’s Day
2. Spring
3. Easter
4. Won’t work for any of the above piles
(below is a picture of my Spring pile)

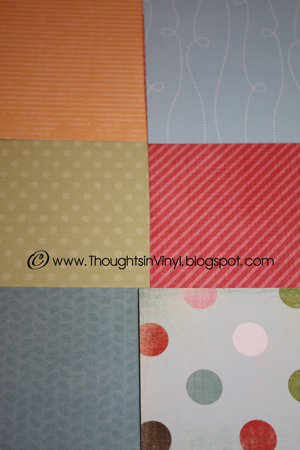
Next I decide what 6 papers I want to use for the Spring Side
(then repeat this for the St. Patrick’s side and the Easter side)
below is a picture of the 6 papers I choose to use for the Spring side

Then I pull out my little paper trimmer. I run a strip of tape on the surface of this the cutter. It is taped off so each square of paper I cut will be 3 1/4″ x 3 1/4″.
(Don’t pay attention to the second strip of tape on the cutter…it was from a different project)

Then I line my paper up the the edge of the tape and cut. When you cut your piece of paper use the manufactured edge as a straight line and line it up along the grid of your cutter. This will help ensure you end up with a perfect square.

Then I turn the paper and cut again.

Do you see how this leaves a small reveal all the way around the block. I do that for two reasons…
1. I like how it looks…and
2. Wood tends to warp and twist a little bit, and this helps to mask that problem.

Then just repeat the cutting steps until you have 6 pieces of paper for all three layouts (18 squares of paper total)
These craft kits include 3 unfinished wooden blocks and vinyl for three holiday/seasons that you pick!
(you use all 6 sides of each block to make all three different layouts)