


How to Apply Vinyl Lettering
Your vinyl comes in three parts:
- The application tape (the top most layer)
- The vinyl lettering itself
- The backing paper (the bottom layer)
Step 1
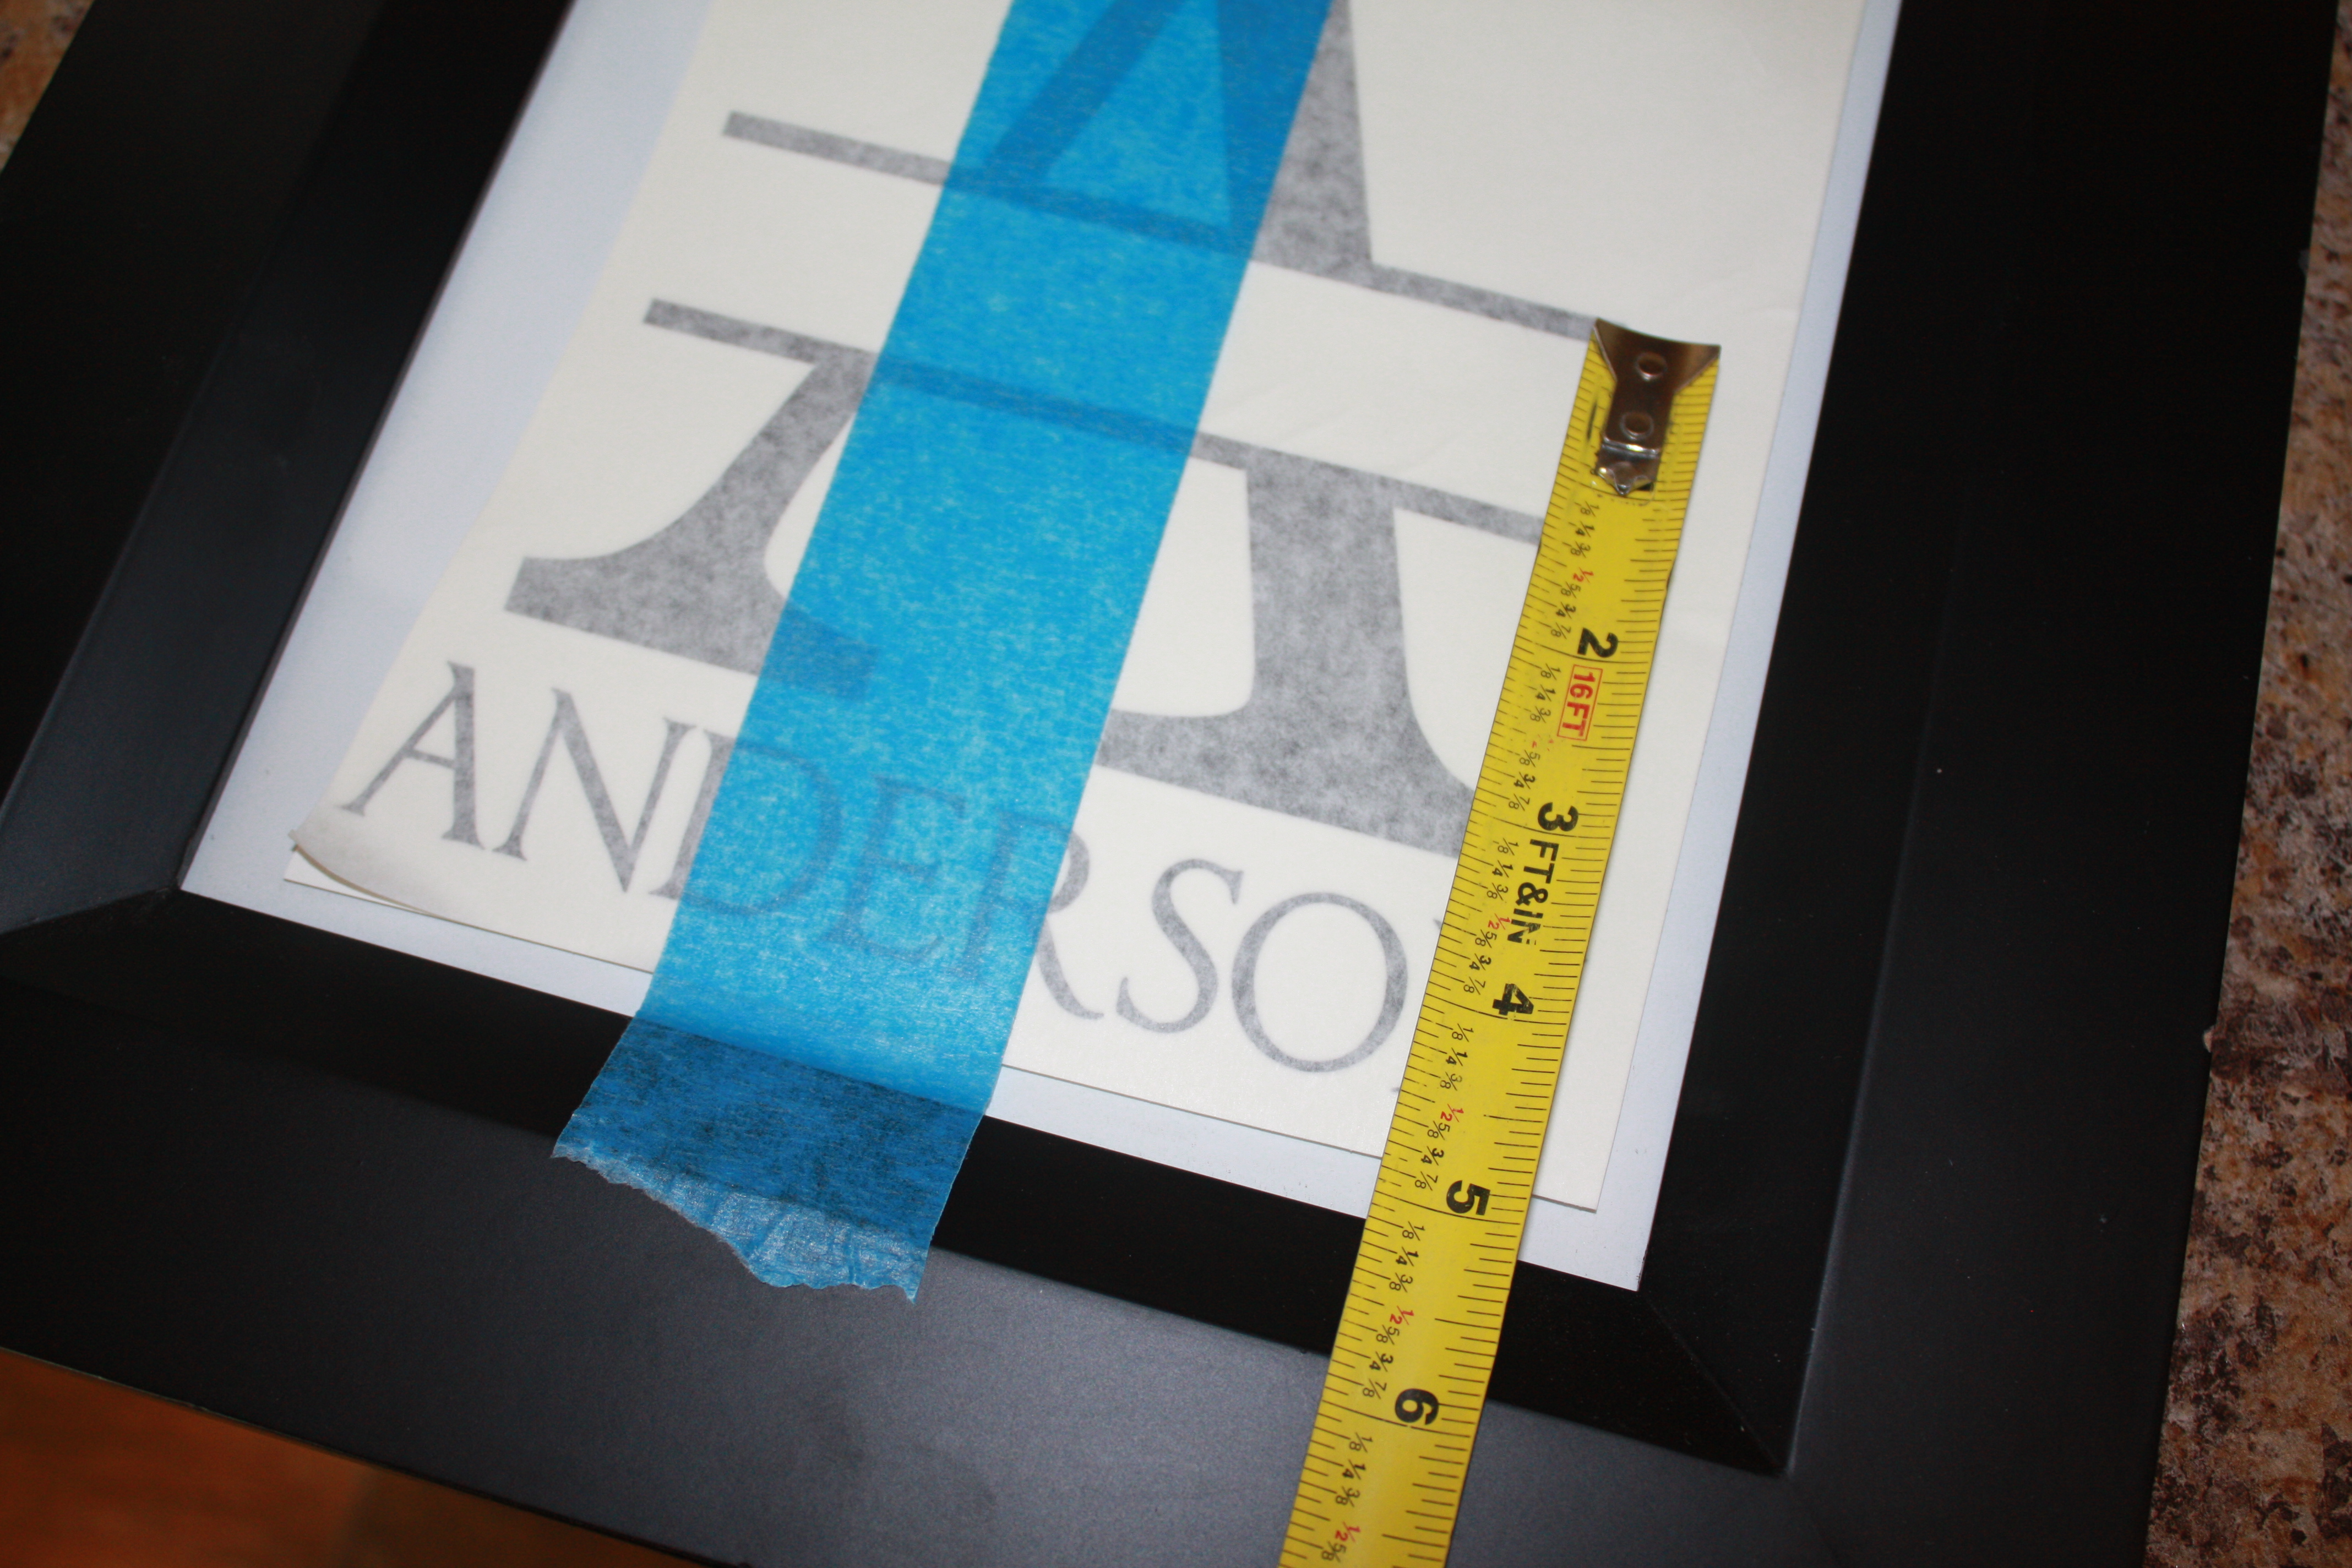
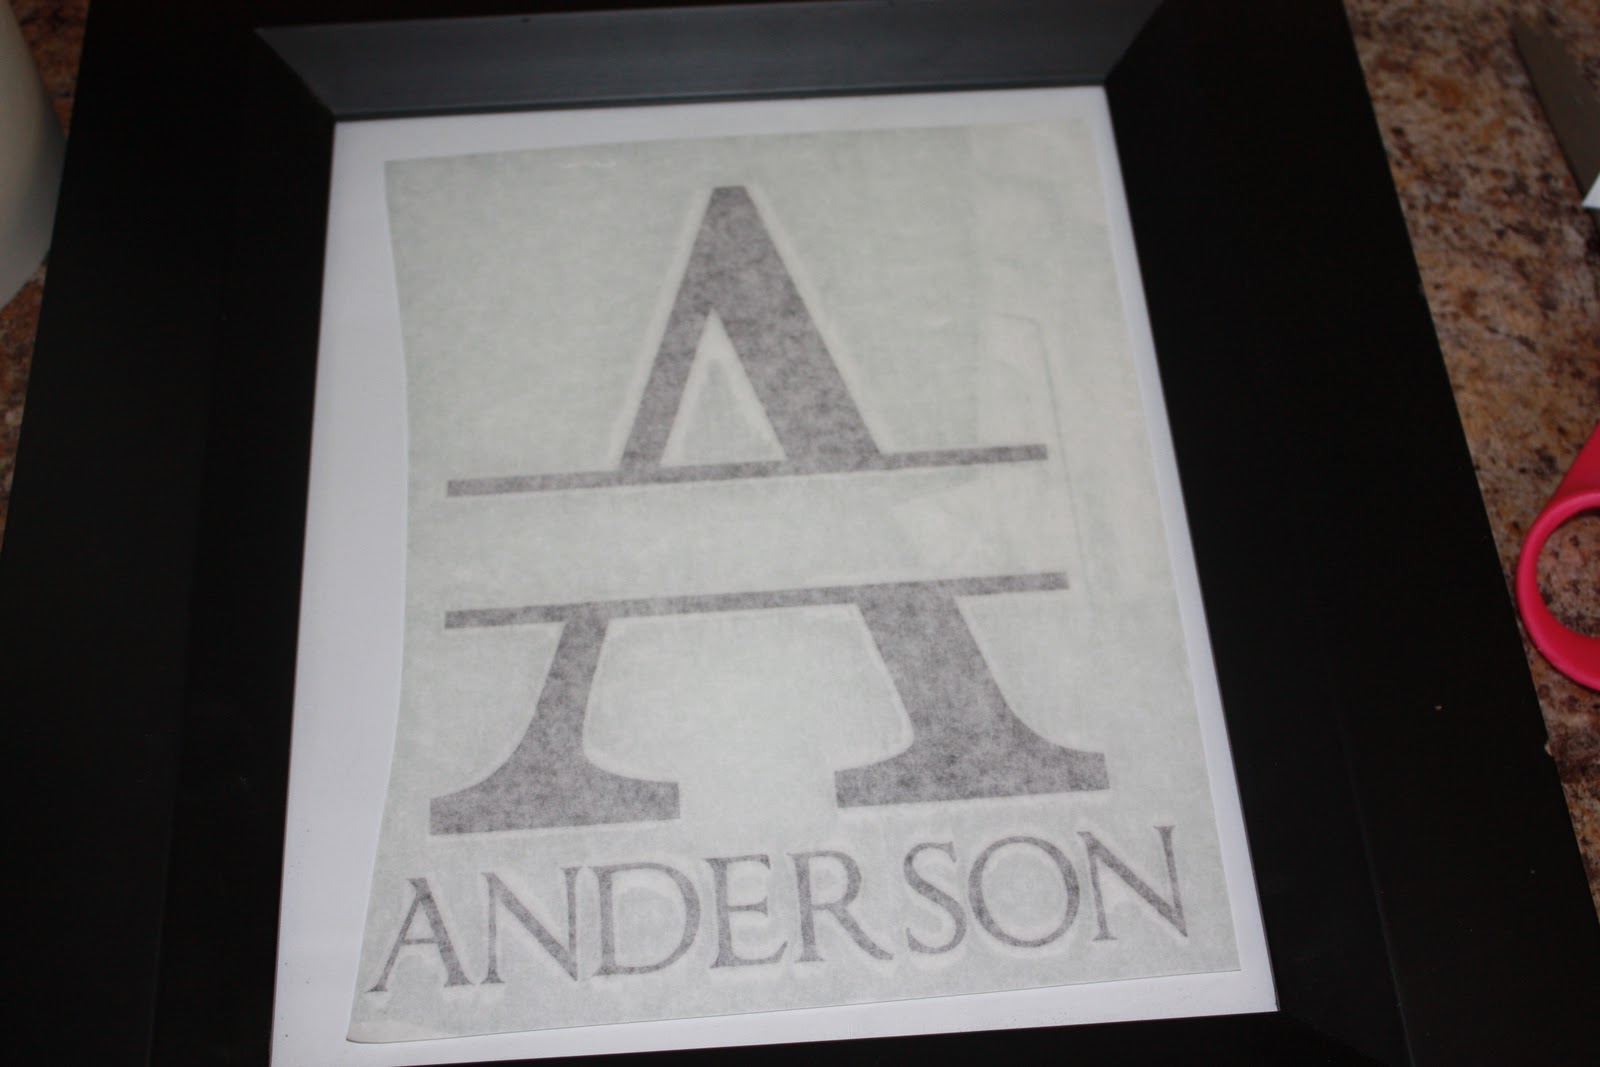
Tape your vinyl to your surface, by running a strip of tape through the center of the saying. Like in the picture.

Adjust tape until saying is level on your surface.
Measure to the left and right (as shown below). Adjust until it is the same on both sides.


Measure up and down (as shown below).


(if you are applying your saying to the wall, then you can use a level and place it against your lettering and adjust the lettering until it is level on the wall, then tape in place)
Step 2
Starting at the right, lift up the application tape slowly, this will lift up the vinyl lettering as well. Go slowly to make sure all vinyl lettering is stuck to the application tape. If a part of the vinyl is left on the backing paper, then rub the application tape and this will help release the vinyl from the backing paper.
Lift up the application tape (and vinyl lettering) to the center of the saying where the strip of tape is.

Step 3
Cut away the backing paper that is free of the vinyl lettering (the portion that you just removed the vinyl lettering in step 2)

Step 4
Starting at the center, where the tape is, smooth the vinyl and application tape down to your surface. Smooth from the center to the right hand side. Rub gently; you can use a credit card to rub the application tape.

Step 5
Remove the blue tape (as shown above). The application tape is sticky, so this will hold your saying in place.
Step 6
Starting at the center of the saying, remove the backing paper releasing the vinyl on to the application tape (like in step 2).

Then repeat step 4 and this time smooth from the center to the left side of the saying.
Step 7
Slowly peel up the application tape leaving the saying on your surface.

