


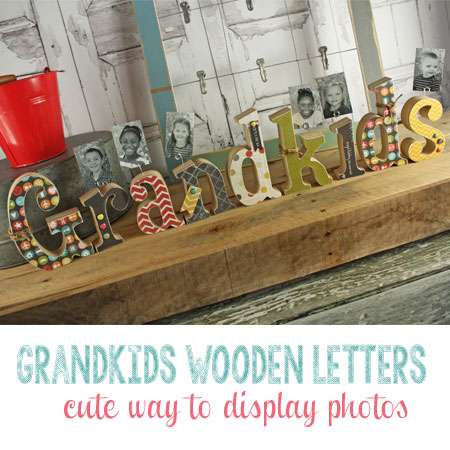
This darling craft is perfect for Mother’s Day, Father’s Day or even a birthday for Grandma or Grandpa.

Order Here
These letters come without holes drilled into them, so you will be able to drill as many or as few holes as you need.
We wanted to show you how we made our wire picture holders, so when it is time to make yours you will have step by step instuctions.
Step 1
Drill a hole into the top of the letter that you want a picture to stick out from.

Step 2
Gather your supplies.
- Wire
- Pencil
- Wire cutters
- Needle nose pliers
- Pictures

Step 3
For each picture, you will need one wire “picture holder”. For each holder you need a 6 inch long piece of wire. Twist the wire around a pencil as pictured below.

Step 4
Slide the twisted wire off the pencil and clamp the “twists” together with some needle nose pliers. This squishes all the little wire twists together so it can hold the picture.
Step 5
Insert your picture into the clamped twisted wire as pictured below.

Step 6
Add a little dab of hot glue to the bottom of each wire and then insert into the holes that you have drilled in the letters.

Order Here